I’m here to provide you with a step-by-step guide on how to use the CLIP Interrogator 2.4 in Google Colab. This fantastic tool, created by @pharmapsychotic, will help you come up with excellent prompts to generate new images that resemble existing ones.
CLIP Interrogator Google Colab Tutorial: Step By Step
Step 1: Access the Google Colab Notebook
To begin, you’ll need to access the Google Colab notebook where the CLIP Interrogator is hosted. You can find the notebook by clicking here.
Step 2: Choose the Right Model
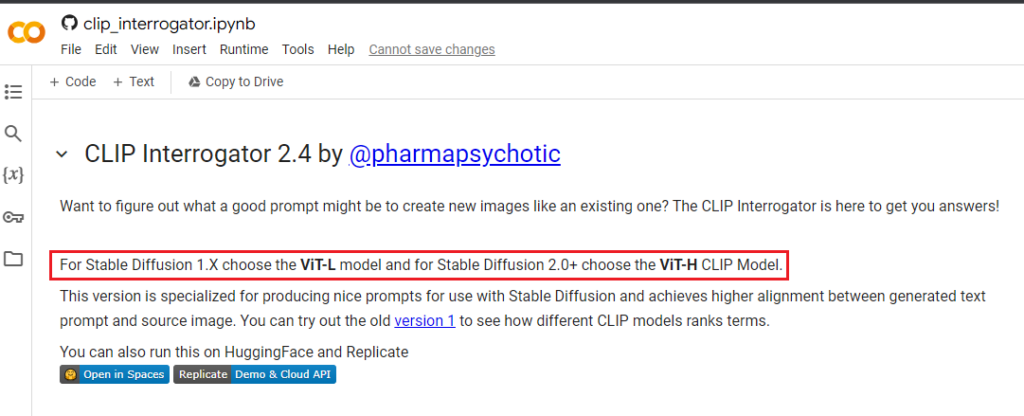
Before you start generating prompts, it’s important to select the appropriate CLIP model for your task.
Depending on your requirements:
- For Stable Diffusion 1.X, opt for the ViT-L model.
- For Stable Diffusion 2.0 and above, select the ViT-H CLIP Model.

This version is tailored for generating prompts for Stable Diffusion, ensuring a higher alignment between the text prompt and the source image. You can compare it with the old version 1 to see the differences in how CLIP models rank terms.
Step 3: Explore the Specialized Version
This version of CLIP Interrogator is specialized for producing prompts that align well with Stable Diffusion. You can explore the older version 1 to see how different CLIP models rank terms.
Setup:
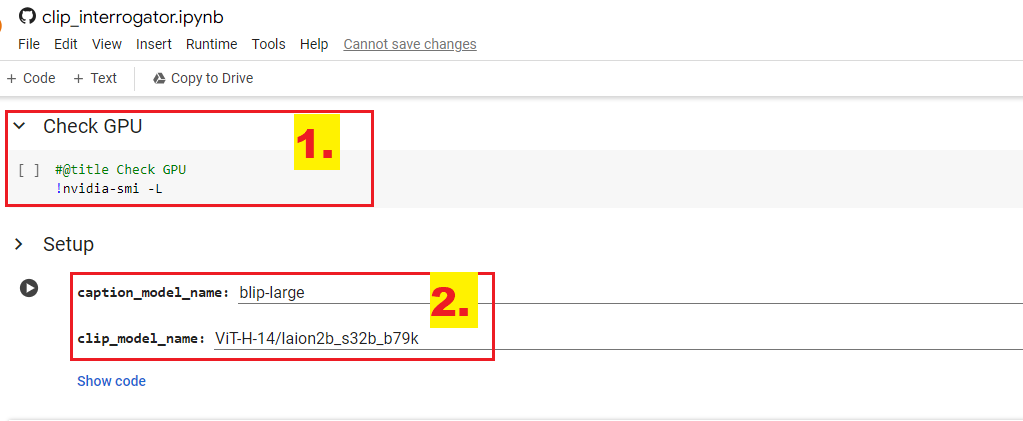
In the setup cell, you will have options to select from for the caption and CLIP model names:
- caption_model_name: Choose from blip-large, blip-base, git-large-coco.
- clip_model_name: Select from ViT-L-14/openai, ViT-H-14/laion2b_s32b_b79k.
Step 4: Additional Platforms
Besides Google Colab, you can also run CLIP Interrogator on HuggingFace and Replicate for your convenience. Here are the links:
Step 5: Check Your GPU
Before you proceed, it’s essential to check if you have access to a GPU, as CLIP Interrogator benefits from GPU acceleration.

To do this, run the following code in the “Check GPU” cell:
#@title Check GPU
!nvidia-smi -L
Make sure you have access to a GPU for faster processing.
Step 6: Image to Prompt
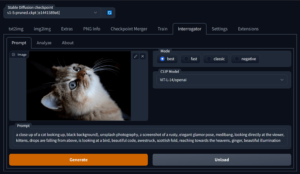
Now, let’s move on to generating prompts from images. In the “Image to prompt! 🖼️ -> 📝” cell, you’ll find the necessary code.
This cell allows you to input an image and a mode to generate a text prompt.

#@title Image to prompt! 🖼️ -> 📝
# ...[code for prompt_tab function]...
ui.launch(show_api=False, debug=False)
The tool will generate a prompt based on your input, which you can use for image generation.
Step 7: Image Analysis
If you want to analyze images instead of generating prompts, the “Analyze” tab has you covered. In this tab, you can analyze an image and get information about its medium, artist, movement, trending status, and flavor. Here’s how:
- Upload the image you want to analyze.
- The tool will provide insights into the image’s characteristics based on your selection.
Step 8: Batch Processing
If you have a folder of images to process, you can use the “Batch process a folder of images 📁 -> 📝” cell. This feature allows you to process multiple images at once.

Specify the folder path, prompt mode, output mode, and maximum filename length, and let the tool do the work for you.
- Select the “folder_path” for image.
- Select the “prompt_mode” from “best,” “fast,” “classic,” or “negative.”
- Choose “output_mode” from the “rename”, “desc.csv” textbox.
- Select the “max_filename_len”.
- Now run the cell.
You’re now ready to use the CLIP Interrogator in Google Colab to generate prompts and analyze images. Have fun exploring this powerful tool, and feel free to experiment with different settings to achieve your desired results.


